
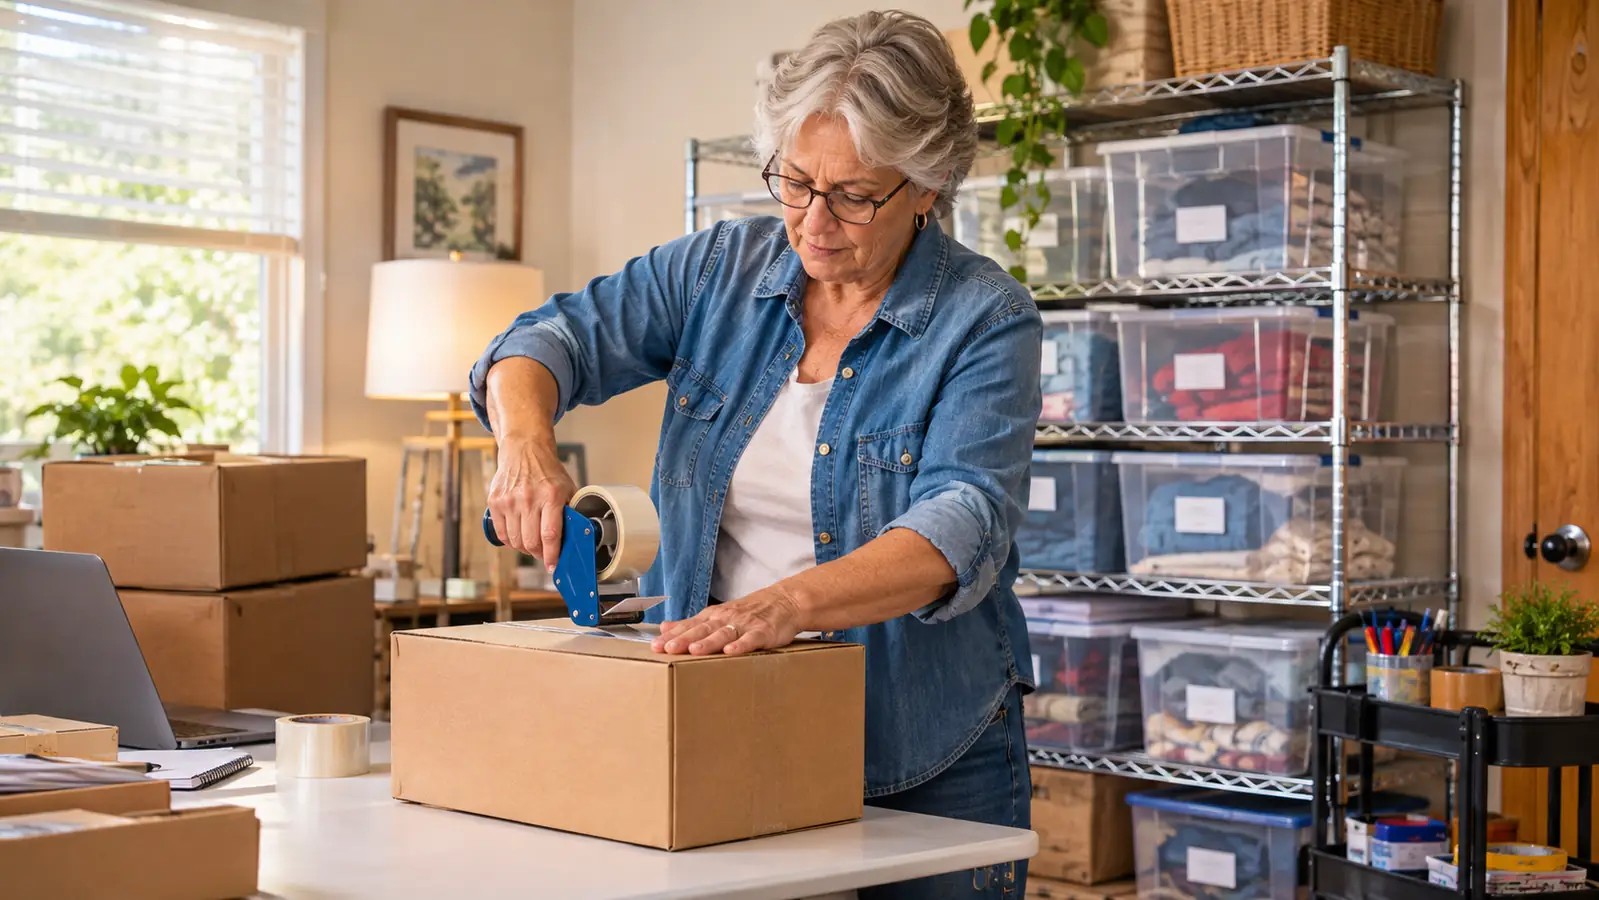
I sealed boxes the slow way for the first two and a half years of reselling. A bare roll of tape in one hand, the flaps pinched shut with the other, and a thumbnail doing the work of a blade. By the sixth or seventh package on a Tuesday evening my right thumb had stopped cooperating, the tape was never straight, and I had started dreading the one part of the job that should take ninety seconds. When you pack eight to fifteen orders a week out of a spare bedroom, small annoyances do not stay small. They turn into the reason the whole stack of boxes gets pushed to the next morning.
So in October 2023 I bought a Mr. Pen 2 inch tape gun. The honest reason was my thumb, not speed. It is a manual dispenser, it came with one bonus roll of tape, it hangs on a hook on the wire shelving in my shipping room, and it has sealed every box I have sent since, which is about three years now. What follows is not a review. It is the sequence I actually run at the folding table, in the order I run it, including the two habits that took me a while to pick up and the one mistake that sends a box out with a flap lifting.
The fix that had nothing to do with speed and everything to do with my thumb
The Mr. Pen tape gun is a manual 2 inch dispenser with a steel blade, light in the hand, and it ships with one bonus roll so you can use it the day it arrives. Mine has been on the same hook for about three years.
Amazon Check Today's Price on Amazon →Step 1: Load the roll so the adhesive faces the box
The gun takes 2 inch tape on a 2 inch core. The roll goes on with the sticky side facing the box and the tape running straight toward the blade. Get it backwards and you will know within a single pull, because the tape will cling to the gun and bunch up instead of feeding off the roll. The first time I did it I assumed I had bought a broken tool. I had not. I had simply loaded the roll the wrong way round, which is the tape gun version of putting the batteries in backwards.
Mr. Pen includes one bonus roll with the gun, so there is something to load the first time without hunting through the house for tape you may not own yet. Keep a spare roll next to the gun after that. Running out mid-evening is annoying. Running out with nine boxes open on the table and the carrier due on the porch in twenty minutes is a different category of problem, and it is entirely avoidable for the cost of one extra roll sitting on the cart.
Before you commit to a box, pull a few inches and cut it against the blade. That single test tells you three things at once: the roll is seated, the tape is feeding smoothly, and the blade is cutting rather than tearing. It costs four inches of tape and it saves you from discovering a problem on the first strip of a box you have already packed and weighed.
Step 2: Tape the bottom seam before anything goes in
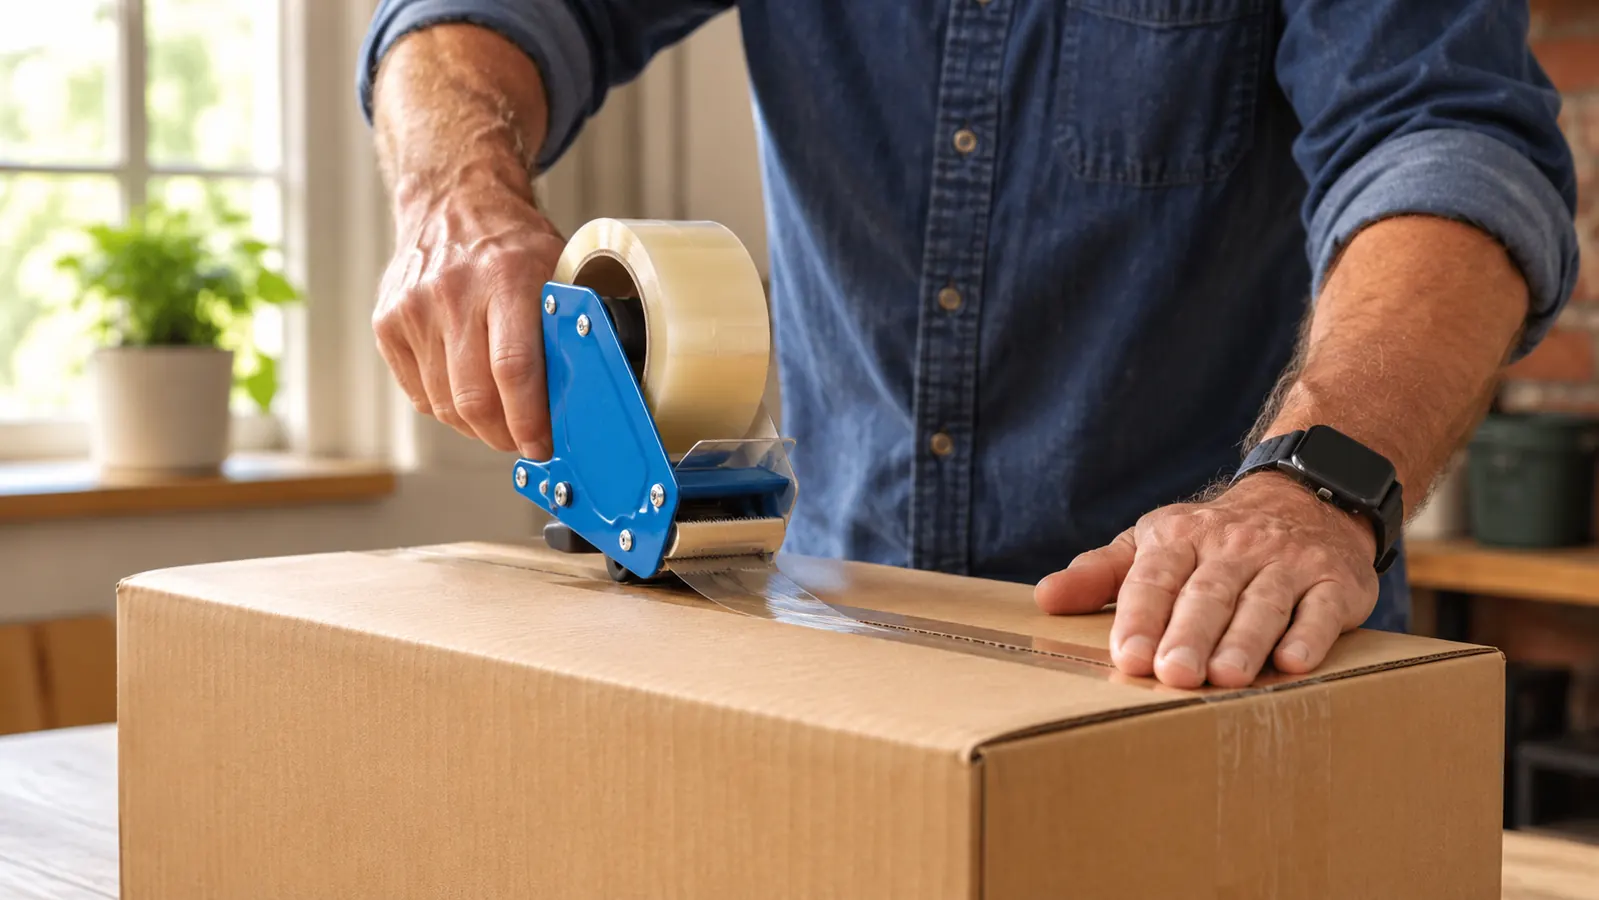
Set the box up and fold the bottom flaps. The two short flaps go down first, the long flaps fold over them, and the center seam should come out as a straight line you can run tape along without steering. Once the box is square, seal that seam with one continuous strip from end to end, overhanging two inches at each end and pressed down onto the sides. That strip carries most of the load, because the bottom of a box takes the weight of everything inside plus every hand that lifts it between your table and the buyer's front door.
Then run a strip down each of the two short edges and fold the overhang around the corner. That is the H pattern, and it takes about twenty seconds. I did the center seam alone for a long time because the edges felt like overkill. They are not overkill. A bottom seam is the one failure you cannot fix after the box leaves the porch, and twenty seconds is a cheap way to never think about it again.
This is where a tape gun earns its hook. One continuous pull along the seam, a cut at the end, and the strip is straight and already pressed down. Doing the same job with a bare roll means stopping every few inches to re-grip the roll and find the end again, and every one of those stops is a chance for the tape to wander off the seam line and stick to the flap where you do not want it.
Step 3: Pack it so the box still closes square
Void fill is the step people skip, and it is the step that decides whether the tape has anything to hold. A box that bulges at the flaps will not close flat, and tape will not hold a flap that is already lifting under pressure. Clothing gets folded and fitted so the contents cannot shift. Vintage Pyrex, glassware and dishes get wrapped in Duck small-bubble cushioning with the bubbles facing in, and the wrapped pieces get packed so nothing can move more than a quarter inch in any direction.
Leave the last half inch of the box free. The long flaps should meet in the middle without one riding up over the other, and they should sit flat enough that you can run the back of your hand across them without catching on anything. If you have to hold a flap down to get it to meet, the box is overfilled. The fix is to take something out or move up a box size, not to add more tape on top of a lid that is already under tension.
Weigh it now, while it is still open. That habit came out of a bad stretch early on when a couple of packages came back for postage due, and it is far easier to add or pull an item with the flaps up than it is to reopen a sealed box. My Accuteck scale sits at the left end of the table next to the printer, so checking the weight is a step sideways, not a trip to another room.
Step 4: Close the top and tape the seam, then the edges
Same sequence as the bottom. Short flaps in, long flaps over, seam dead center. Run one strip along the center seam with the gun, overhanging both ends, then a strip down each short edge. Tape under tension, not slack. A loose strip with a wrinkle in it will lift somewhere between Ohio and the buyer. A strip pulled snug and pressed flat will not.
Move from your shoulder, not your wrist. For the first month I owned the gun I tried to steer it with my wrist and got a wavy line on every box. The tool wants to be pulled in a straight line by the arm while the other hand keeps the box from sliding around the table. It looks like a one-hand job and it is not. The handle is comfortable enough that I forget I am holding anything, but my left hand is still doing half the work.
For anything heavy or going any real distance, I add one strip across the middle of the top, perpendicular to the seam. It is another eight inches of tape and it turns the lid into a single rigid piece instead of two flaps that can flex independently. On a box of stoneware that is the difference between a lid that holds its shape in a mail truck and a lid that has a gap at the corner by the time it arrives.
Step 5: Cut clean, burnish the edges, then label
Cut against the blade rather than pulling until the tape tears. A torn edge lifts at the corner and it looks like nobody was paying attention. A cut edge sits down flat. The gun has a steel blade for exactly this purpose, and it will cut cleanly every time as long as you keep the pull straight for the last inch of the strip.
Then burnish. Run the heel of your hand along each taped edge and press the overhang down onto the side of the box. This matters more than people expect on recycled corrugated, which has a dusty surface that tape does not grab on its own. Thirty seconds of pressing is the difference between tape that is stuck and tape that is merely resting there until the first cold night in a delivery hub.
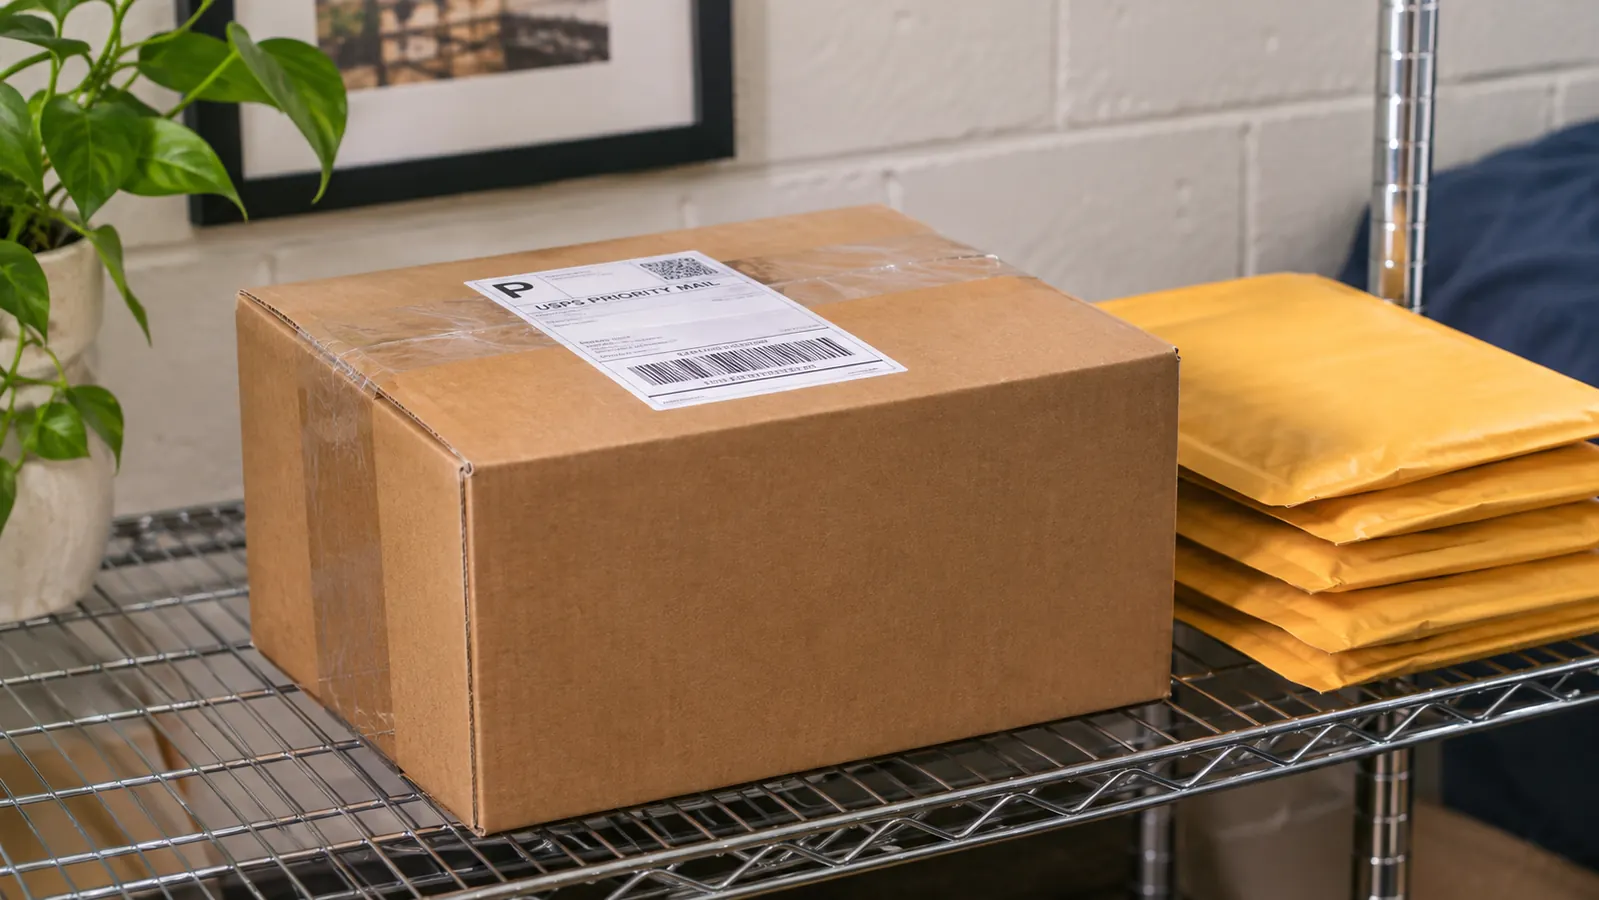
Label last, and do not run tape over the label. My Rollo prints 4x6 thermal labels with no ink, and they go on the largest flat surface, centered, with clear corrugated visible on all four sides. A label under shiny packing tape can glare out under a scanner, and a taped-over label is a label somebody at the counter has to squint at while a line builds behind them. I did my time behind that counter. Do not be the reason for the squint.
What Else Helps
The tape itself matters as much as the gun. Thin bargain tape stretches instead of cutting, lifts at the corners, and makes a good dispenser look like a bad one. Buy 2 inch tape rated for shipping, keep two rolls on the cart, and retire anything that has spent two summers in a hot garage. The gun cannot rescue a roll that will not hold, and no amount of technique will fix it.
A postal scale and a thermal label printer do more for a packing table than most people expect. The scale takes the guessing out of postage, and the printer takes the hand-writing out of labels. Both of mine have been running for years and neither one is interesting to talk about, which is exactly what you want from equipment. The tool that makes you think about it is the tool that is costing you time.
Not everything needs a box. Clothing goes into a Metronic 10x13 poly mailer with the self-seal strip, which is faster and lighter than a box and survives the mail stream fine. Glass, dishes, and anything with a corner or a handle goes into a box every single time. Splitting the work that way has saved me more tape and more evenings than any single piece of equipment in the room.
A tape gun is not a faster way to tape a box. It is a way to seal a whole evening of boxes without your hand quitting at the tenth one.
About three years on the same hook, and it still cuts on the first pull
The Mr. Pen 2 inch tape gun is manual, fits 2 inch tape on a 2 inch core, and comes with one bonus roll. If a bare roll has started to hurt your thumb, this is the simplest thing on the table to change.
Amazon Check Today's Price on Amazon →