
Clothing is the easiest thing I ship. Not because it is tough, but because it forgives. A sweater does not shatter. A pair of jeans does not leak. If you fold it flat, keep it dry, and seal the bag properly, it arrives looking like it left. That is the whole job.
I have packed clothing from a spare bedroom outside Dayton, Ohio since spring 2021, usually 8 to 15 packages a week. For the first year I did a lot wrong. I folded things into lumpy balls. I taped over the self-seal strip, which is redundant and makes the buyer work to open it. And I once shipped a wool blazer in a bag so tight it came out creased across the shoulders, which is a message you do not want to read. This is the process I settled into, and the METRONIC 10x13 poly mailers have been the bag underneath it since July 2022.
The bag I have reordered every two months for about four years
METRONIC 10x13 poly mailers, 100 to a pack. Self-seal strip, tear resistant, and light enough that the bag barely registers on the scale.
Amazon Check Today's Price on Amazon →Step 1: Fold for the bag, not for the drawer
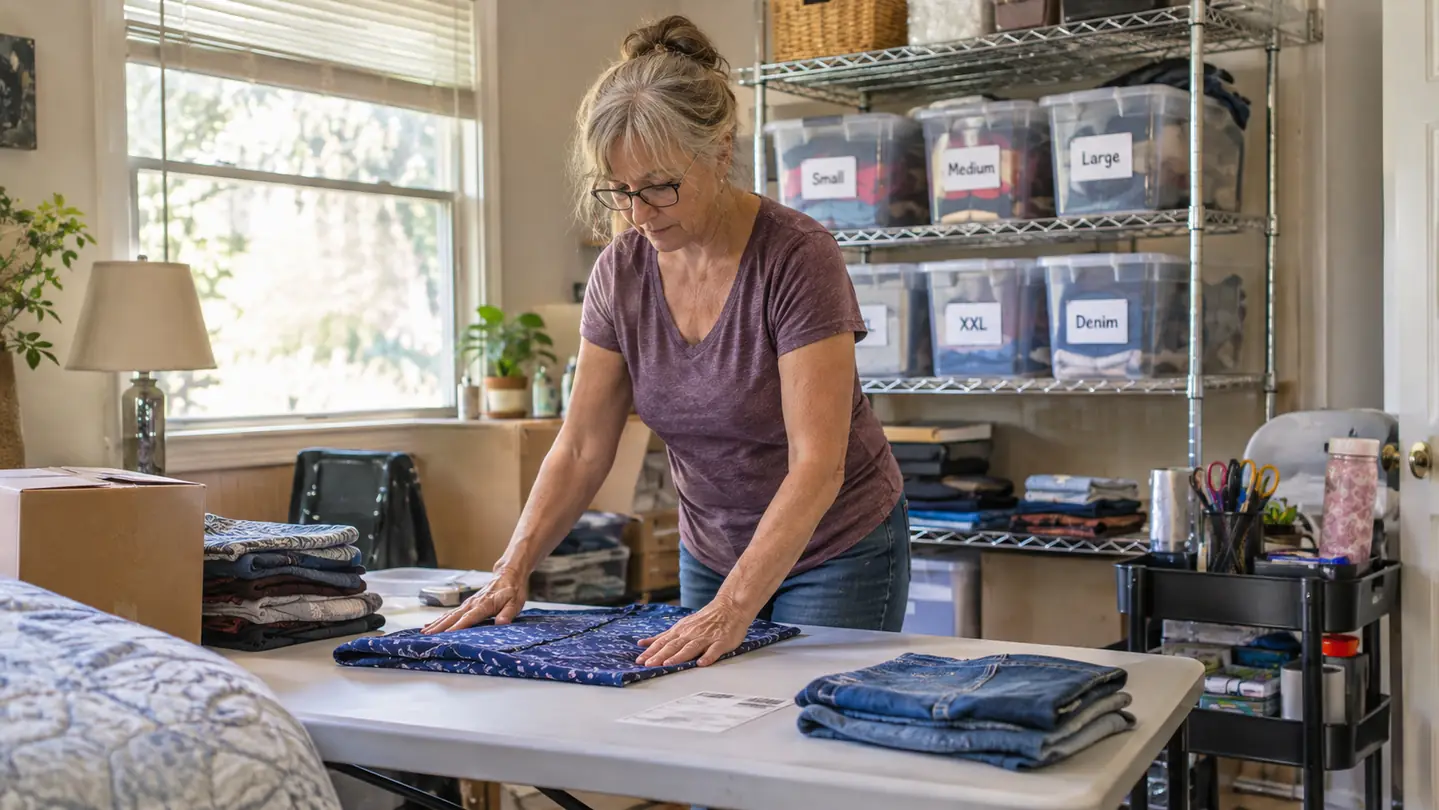
The bag is 10 by 13 inches. Fold to fit that rectangle before you reach for the bag, not after. A garment that goes in as a bundle has to be pushed, and pushing is how you get wrinkles set into a crease that survives three days in a mail truck.
My method for a sweater or blouse: button or zip it closed, lay it face down, fold the sleeves in toward the spine so they lie flat and do not cross the front, then fold in thirds from the bottom. You end up with a rectangle roughly 9 by 12. That slides in with room on all four sides.
In the fall of 2021 I shipped a cream lambswool cardigan to a buyer in Oregon. I had folded it into a bundle about the size of a football and shoved it into the bag because I was in a hurry and the bag was already open on the table. She wrote back with a photograph of the shoulders, which had two soft creases pressed into them like the sweater had been slept in. Wool takes a fold and keeps it. I offered to take it back and she kept it, but I spent an evening steaming it and I have never stuffed a knit since. Now I fold flat, I check the fold line against the width of the bag before anything goes in, and if the rectangle is wider than the bag I refold rather than force it.
Jeans and heavier pants get folded in half lengthwise, then in half again, then in thirds. Denim is stiff enough that it will not take a fold you do not give it, so give it clean ones. Shoes get tissue inside the toe box and go in separately from clothing, or in their own bag if the order is shoes only.
Step 2: Protect the corners and anything pointed
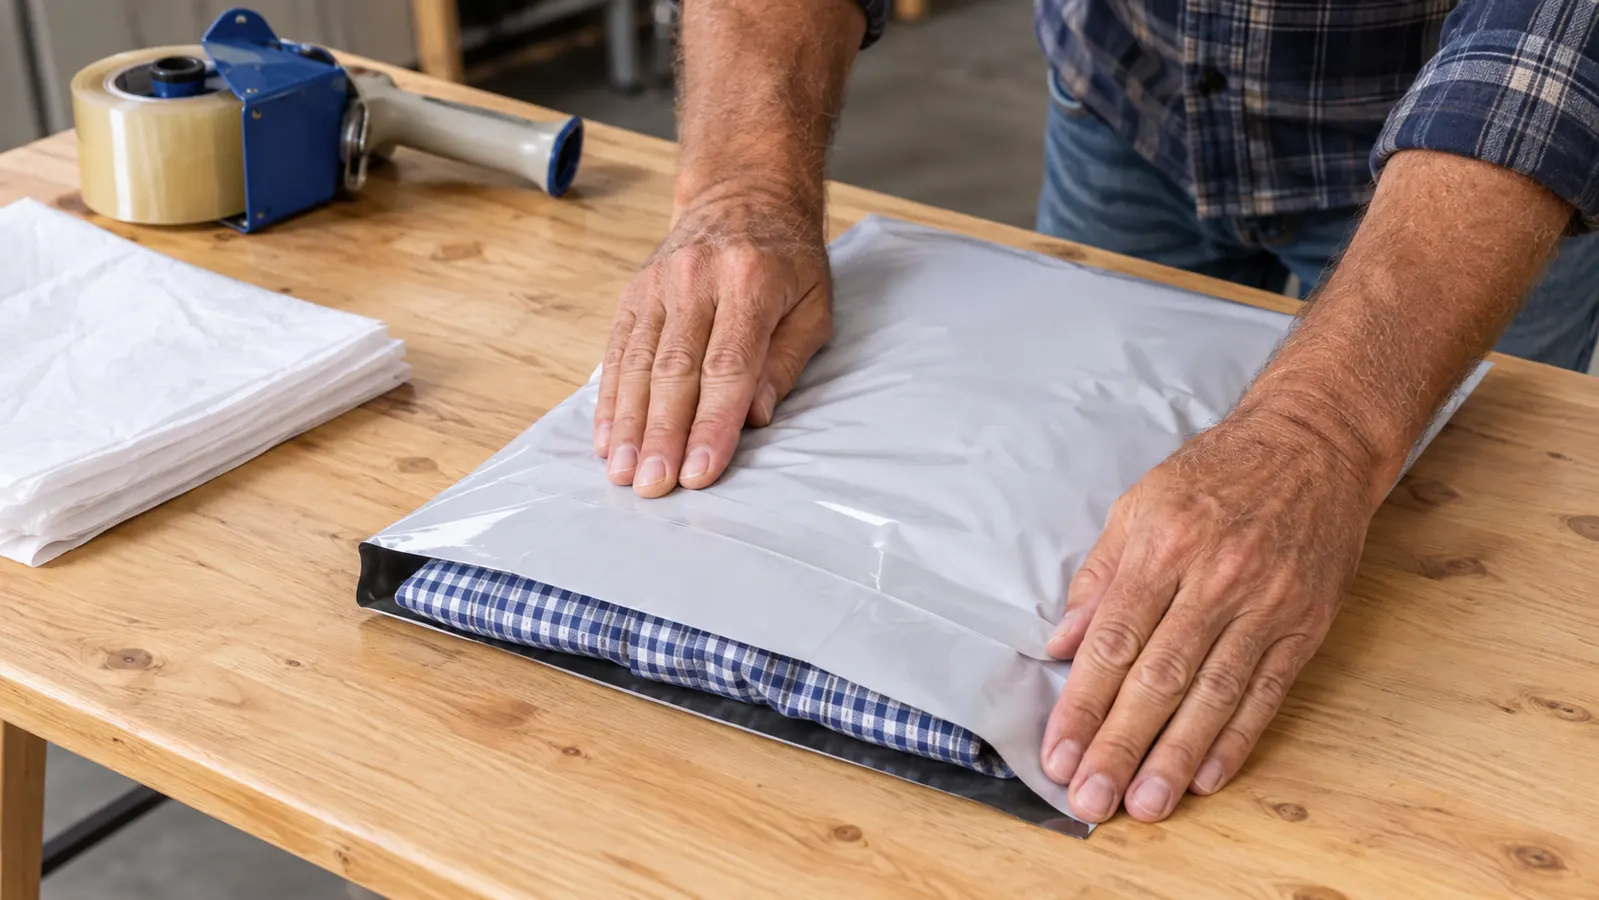
The failure point on a poly mailer is not the panel, it is a corner. A hanger hook, a metal button, a zipper pull or the point of a shoe heel will poke through in the sorting machinery and tear a hole you will never see from the outside of the truck. I fold hanger loops inward against the garment and, if there is a strap or a buckle, I put it inside the fold rather than on the outside surface.
Two things taught me this. The first was a wool blazer with a metal hanger hook that I left attached because it seemed tidy and saved me a second. It went through the side of the bag somewhere between Dayton and Chicago, and the buyer sent me a picture of a tear with the hook sticking out of it. The second was a pair of ankle boots with a stacked heel. I wrapped each boot loosely in tissue, put both in one bag, and the heels punched two holes near the bottom seam. Neither package was lost, and both buyers were kind about it, but both opened a bag that looked like it had been in a fight, and that is not the first impression I want on a five star order.
For anything with hardware, a single sheet of tissue or a scrap of bubble wrap over the hardware is enough. Do not wrap the whole garment. You are not padding it, you are blunting the one point that will cut. I keep Duck small-bubble wrap on the cart for glassware, but the perforated 12-inch sheets are too much for clothing and cutting one down wastes it. A folded paper towel does the same job here.
METRONIC poly mailers are tear resistant and waterproof, which handles rain and rough handling. They are not armor. A sharp point under pressure will still find a way, so remove the point instead of trusting the bag to stop it.
Step 3: Get the air out before you seal
A bag with air in it is a bag that gets measured as a bigger package. Poly mailers are priced by weight, not dimension, for most domestic services, so the volume itself does not cost you postage, but trapped air makes the parcel bulge and bulge is what catches on the conveyor and splits a seam.
Press the garment flat with the heel of your hand and work from the sealed end toward the open end, pushing the air out ahead of you. Then peel the backing off the self-seal strip and press the flap down along its full length, running your thumb across it twice. The METRONIC self-seal strip is tamper resistant once it is down, which is good for the buyer and unforgiving for you. If you get a fold of fabric caught under the flap, that seal is compromised and you will not fix it by pressing harder.
The one that got away from me was a gray wool skirt one February. I had the fabric a half inch over the seal line and did not see it. The strip grabbed the wool, the flap went down over it, and the seal held about four inches of the thirteen. I tried pressing harder, which did nothing, then lifted the flap, which took a small puff of wool with it. I reset the skirt, wiped the strip with my thumb to clear the fibers, and laid a fresh two inch strip of packing tape across the entire seam. That package arrived fine. It also cost me four minutes I did not have, on a night I had eleven orders to pack.
That is the one place I do add tape: over the sealed seam, not over the whole bag. Two inches at each end, pressed flat.
Step 4: Weigh it flat and enter the real number
Weigh the packed bag, not the garment. I learned this the hard way in my first months, guessing at the counter and getting two packages back for postage due. A folded sweater that feels like nothing can still be 14 ounces once it is in the bag with a tissue sheet and a thank-you card.
My Accuteck sits next to the printer, plugged in, and I weigh every single package. Poly mailers are light enough that they rarely push a garment over a rate bracket on their own, but the difference between 15.9 and 16.1 ounces is a different price, and guessing puts you on the wrong side of it about half the time.
Here is a real one from October. A quilted cotton jacket, size medium, folded flat, in a 10x13 with a tissue sheet and a card. On the table it felt like a paperback. On the scale it read 1 pound 3.2 ounces. My instinct said twelve ounces, which is a different bracket and would have come back to me as postage due about a week later, after the buyer had already left feedback. The bag itself adds a fraction of an ounce, which is part of why I use poly mailers for clothing and not a box. A small box would have added three or four ounces before I put anything inside it.
Round up, not down. If the scale reads 15.8 ounces, I enter 16. Nobody has ever been charged extra for a package that weighed slightly less than the label said.
Step 5: Label on a flat surface, and make sure it is flat
A thermal label applied over a bulge will lift at the edges and the scanner at the post office will reject it. Before the label goes on, lay the bag on the table and run your hand across the face where the label will sit. It should be flat and firm.
Peel the label, set it down along one edge first, then lay the rest down and press from the center out. Corners matter more than the middle. I have had exactly one label fail to scan in about four and a half years of printing my own, and it was a corner lifting off a bag that was not flat underneath.
The 4x6 label fits comfortably on the 10x13 face with room to spare, which is one reason I like this size for clothing. Anything smaller and the label starts to crowd the seal.
A bag with air in it is a bag that gets measured as a bigger package, and bulge is what catches on the conveyor and splits a seam.
One more thing on the label: do not tape over a thermal label. The adhesive is designed to hold on its own and tape over the top can create a glare that confuses a handheld scanner. If a corner will not lie down, that is a sign the bag under it is not flat, so fix the bag.
What Else Helps
A few small habits make the process faster without changing any of the steps above.
Keep the mailers flat and stacked, not folded into a shoebox. A creased mailer has a memory, and the crease runs right through where your label goes. Mine live flat on the wire shelving in their original pack.
Fold everything for one order before you reach for the bag. Batching the folds and then batching the bagging is faster than doing them one garment at a time, and it means you only open the pack once.
Use a tape gun rather than a bare roll if you have any trouble with your hands. I switched to one in October 2023 because squeezing a bare roll was hurting my right thumb, and it was the single best small purchase I made that year. It hangs on a hook on the shelving unit and I use it on every box, and on the two inches of seam tape on every poly mailer.
Volume is the other thing that changes the routine. In a normal week I pack 8 to 15 orders and the steps above are just what I do after dinner. From the middle of November through the first week of December it can double or triple. That is when the small habits pay for themselves. I do not pre-fold anything the night before, because a folded sweater sitting on a shelf takes the shape of the shelf. What I do instead is stage the bags: open three or four at once, fold the garments and lay them out in a row, then bag them one after another and seal all of them at the end. Same steps, far less reaching.
And keep poly mailers and boxes separate in your head. Poly mailers are for clothing and soft goods. Boxes are for anything that can break. I have never put a piece of Pyrex in a poly mailer and I never will. Glass and dishes go in a box with bubble wrap, bubbles facing in, and that rule has held for nearly five years without a break.
If you are still deciding whether poly mailers are right for your clothing orders at all, the honest answer is that they are right for most of them and wrong for a few. Structured blazers, anything with a hat brim, and formal dresses with volume are box territory. Everything else in a normal thrifted clothing order is a bag.
10x13, 100 to a pack, self-seal. Start with one pack and see how far it goes
METRONIC poly mailers in 10x13 fit a folded sweater, a pair of jeans, or two blouses with room for the label. If you ship clothing a few times a week, one pack lasts about two months.
Amazon Check Today's Price on Amazon →