
Hand-writing labels works for about three packages. Then the middle of November arrives. My first reselling winter was a ballpoint pen, a ruler, a stack of plain paper, and a roll of clear tape. I wrote the address on the paper, wrote it again in my record book, taped the paper to the box, and hoped the tape did not wrinkle across the barcode. I had spent 27 years behind a post office counter before that, so I knew exactly what a hand-written, wrinkled label does to a clerk at ten minutes to five on a Friday. I did it anyway, because I did not know what else to do about it.
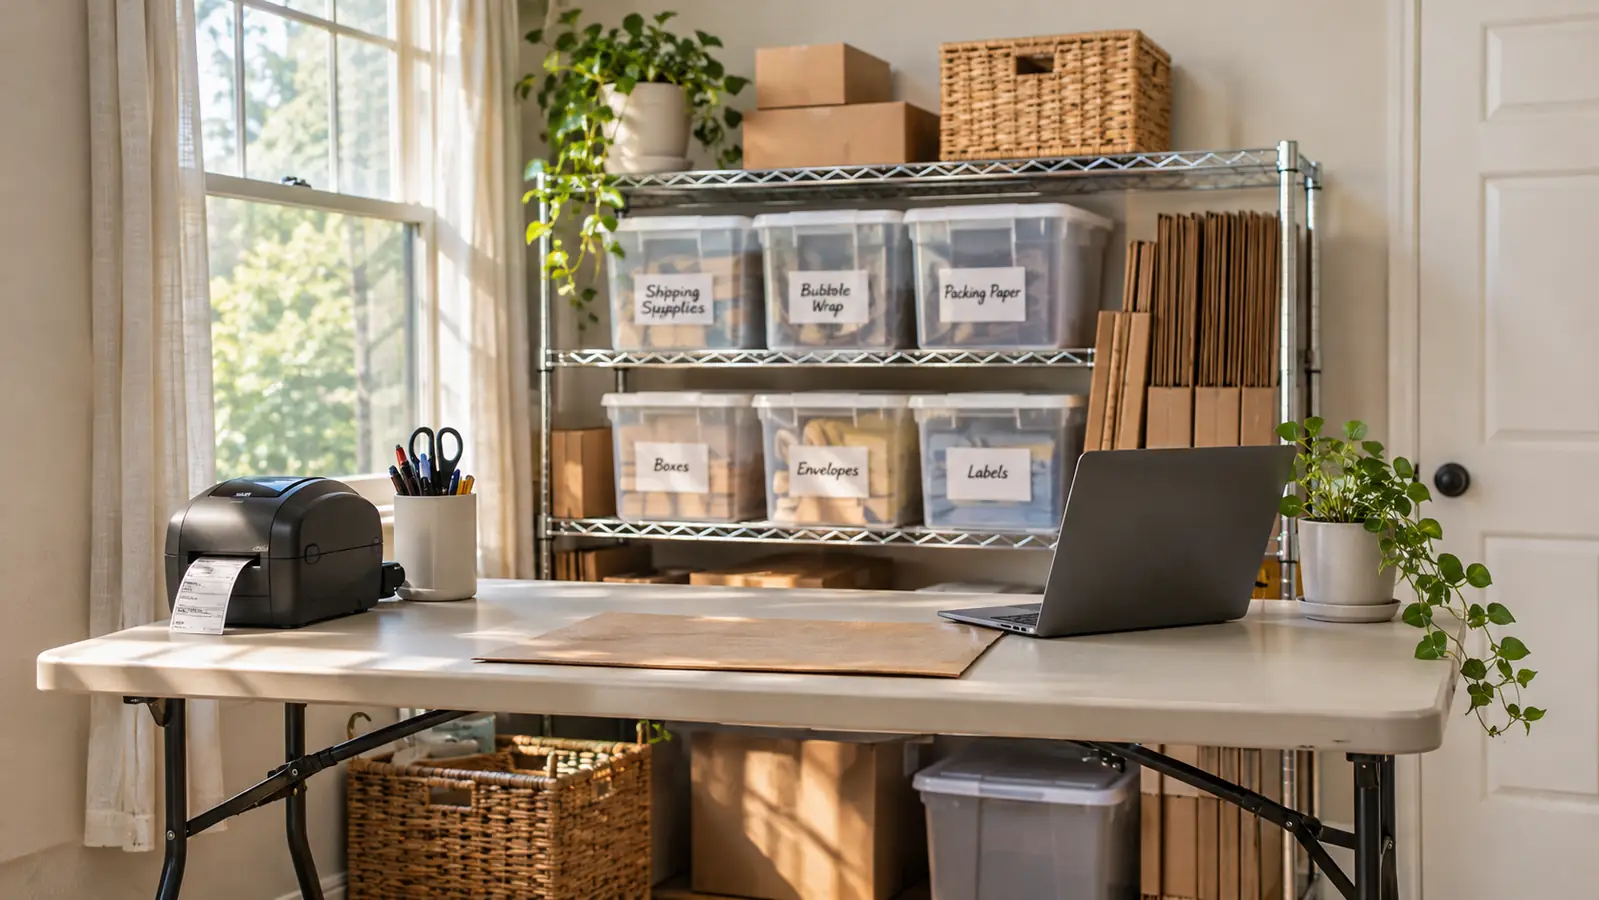
The fix turned out to be a Rollo USB thermal label printer. I bought mine in April 2022, about a year into reselling, and it has sat at the left end of the folding table in the shipping room ever since. Four and a half years later it is still the only label printer in this house, and it is still doing eight to fifteen packages a week, more in December. It uses no ink, no toner, and no sheet of paper with tape over it. What follows is the setup I actually run, in the order I run it, including the two steps I got wrong first.
The printer that ended my tape-and-paper era
The Rollo USB prints 4x6 thermal labels over a single USB cable, from Windows or Mac. No ink, no toner, no app. It has been on my folding table for four and a half years and it is still the only one I own.
Amazon Check Today's Price on Amazon →The Five Steps, in the Order I Do Them
Step 1: Set It Up Once, on the Laptop You Actually Ship From
Start with the printer, not the label. The Rollo is 2.2 pounds and roughly 8 inches wide, 4 inches deep and 4 inches tall, so it takes a corner of a six-foot folding table without crowding the packing area. Mine sits at the left end, with the scale to its right and the tape gun hanging on a hook above it. That is the whole station. Nothing about it needs a dedicated desk, a separate room, or a piece of furniture you have to buy first.
The cable runs from the printer to my laptop. That is the entire connection: one USB cable, no Bluetooth, no wifi, no phone app. The printer is listed for Windows XP and newer and for Mac 10.9 and newer, and it works with laptops and PCs, which is what I have. I like the wire. There is nothing to pair, nothing to drop in the middle of a printing run, and nothing that quietly switches itself off between Tuesday and Thursday while I am standing there holding a box.
You install it once, on the machine you actually ship from, and then you stop thinking about it. Rename it in your printer list, which sounds fussy and is not. I called mine Rollo so I never send a 4x6 label to the household inkjet by accident and then spend ten minutes at the counter explaining what happened to the barcode. Set it as the printer you use for shipping and leave it alone after that.
Step 2: Load the Labels and Set the Size Before You Print
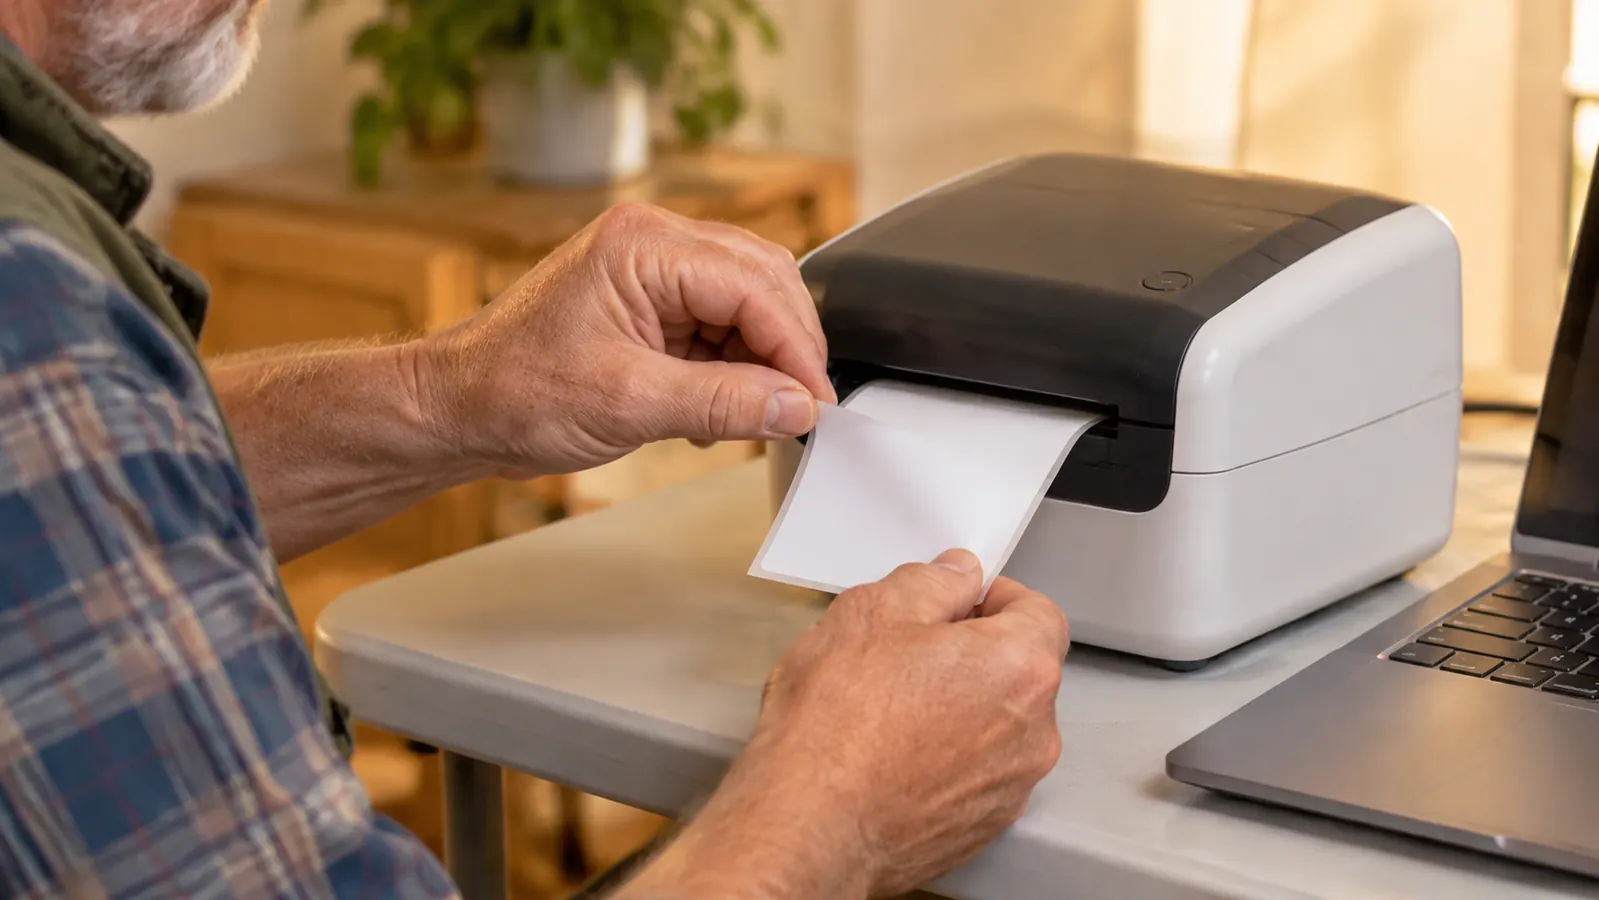
Load 4x6 thermal labels and let the printer find the gaps. It has auto label detection, which means I do not measure, count, or line anything up by hand. I load labels, the LED display comes on when it has power, and the machine takes it from there. With arthritis in my right thumb, not lining things up by hand is worth more than it sounds.
The step that trips people up is in the software, not the hardware. Before you print the first label, open the print dialog and set the paper size to 4x6. Confirm that the Rollo is the printer selected and not the default inkjet. You only do it once, the setting sticks, and the preview will show you a label-shaped page instead of a letter-sized one. That preview is the cue I check every time something looks off, and it has saved me more than one wasted label.
I print one size, 4x6, and nothing else. The printer is monochrome and it is built for labels, so I do not try to push a packing slip through it, and I do not keep a second size of label in the house. One size means one setting means one fewer thing to get wrong at nine at night when I am trying to clear the table and go to bed.
Step 3: Weigh the Box Before You Print Anything
I bought an Accuteck 8250 digital postal scale in January 2022, before I bought the printer, and it was the first piece of real equipment in the shipping room. I bought it after two packages came back postage due because I had guessed at the counter and guessed low. The scale reads to 0.1 oz, tops out at 50 lb, and has a tare button. It sits next to the printer, plugged in on its adapter, and it has been in daily use for nearly five years.
My routine is short. The empty box goes on the scale, I press tare, I fill the box the way I am going to ship it, I set it back on and read the ounces. I write that number on the corner of the box in pencil. Then the weight goes into the shipping site and the label gets bought with the real number on it, not the number I hoped for.
This is the step that makes the printing step quick. If the weight is already decided, the label is a thirty-second job. If the weight is a guess, you will be at the counter with a package that needs a second label printed and a clerk who has to tell you so.
Two packages came back postage due because I guessed at the counter. Since January 2022 I have not bought a single label on a guessed weight.
Step 4: Buy the Label, Then Print It
This is the easy part, and it is easy because of the three steps before it. You sell something on eBay or Poshmark, you pack it, you weigh it, you enter the weight and the box size, and you buy the label. Then you print it. The printer puts out a 4x6 label at one label per second, so there is no waiting on it, and it does not care how long the machine has been sitting idle between orders.
Direct thermal means there is no ink and no toner. The label itself is what darkens. That is why the printer has never needed a cartridge in four and a half years and why the only supply I reorder is labels. It prints in one color, which is all a shipping label ever needed.
Before I hit print I check three things on the screen: the address, the weight, and the service. Then I print and tear the label off, and the next one is already lined up because the printer found the gap after it on its own. Two labels back to back, which happens constantly in December, take about two seconds. That is the whole reason this beat the paper and tape setup.
The only trouble I have had is a blank label, and both times it was a label loaded the wrong way up rather than a printer problem. I flipped it, reprinted, and got on with the day. If a label comes out faint where it should be dark, check the low roll before you start blaming the machine. It has never been the machine.
Step 5: Apply the Label and Get the Box Off the Table
Peel the label and press it from the middle out, on a flat, dry, clean surface. Keep it away from the corner of the box and away from the seam where the flaps meet, because a label that bends around a corner is a label the scanner has to think about. One pass with the flat of your hand is enough. You do not need to tape over a thermal label, and I would rather you did not.
For a poly mailer, the label goes on the flat face, not over the seal strip. I use Metronic 10x13 mailers for clothing, and the seal needs to stay clear so the bag closes properly on the first try. Nothing goes in a mailer that could break, which means no dishes, no glass, no Pyrex. That rule has not changed since July 2022 and I have not regretted it.
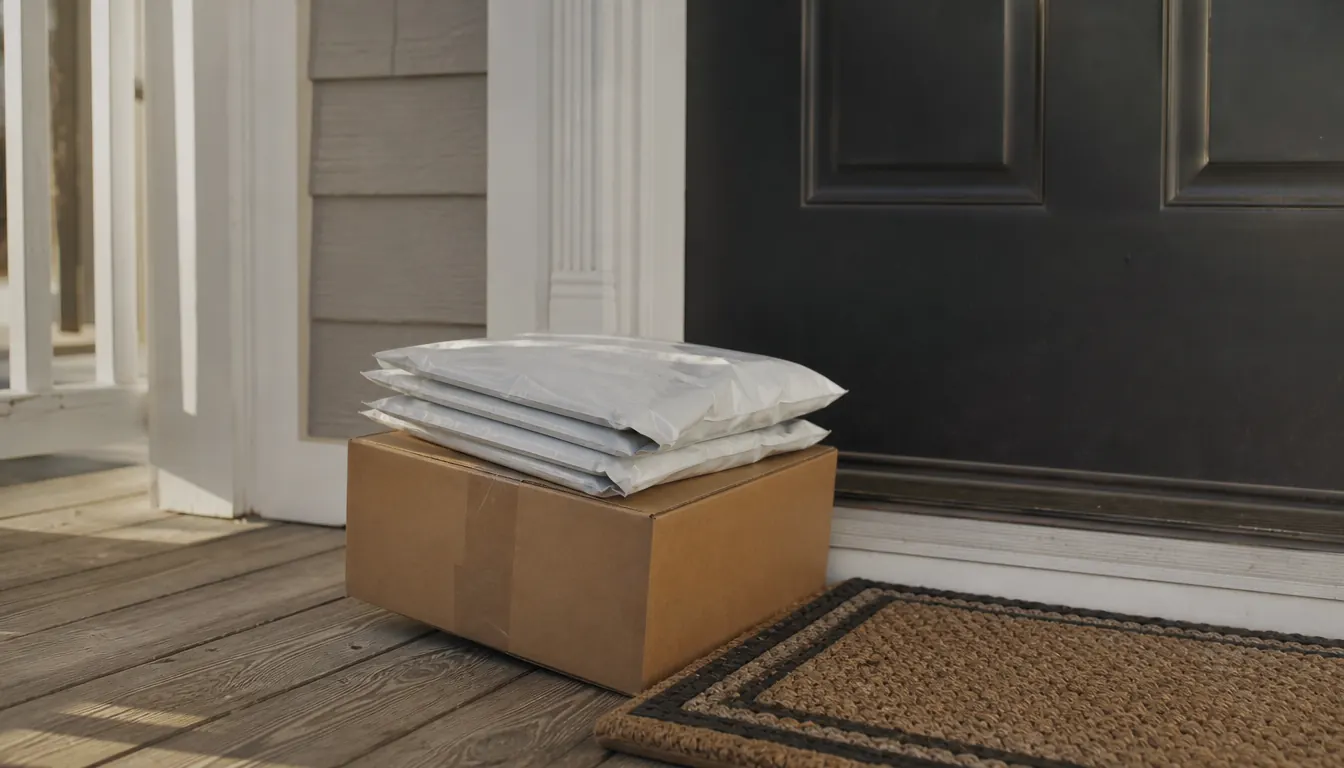
Then the box leaves the table. Finished packages go on the rolling cart by the door, and Gene carries them out to the porch when I have a pile. Most weeks I schedule a free carrier pickup from the porch. On the weeks I am already driving past the post office I drop them at the counter instead. Either way they are off the folding table, which means the table is free for the next order.
What Else Helps
A tape gun that does not need a hard squeeze. I bought a Mr. Pen 2 inch tape gun in October 2023, about three years ago, because squeezing a bare roll of tape was making my right thumb worse by the week. It came with a bonus roll, it hangs on a hook on the shelving unit, and it is the difference between taping six boxes and taping six boxes without complaining. If your hands hurt, this is the cheapest fix in the room.
The right cushioning for the right item. Poly mailers are for sweaters, blouses and jeans. Boxes with bubble wrap are for anything that could break. I have used Duck small-bubble wrap, 12 inches by 175 feet, since January 2022, and I tear sheets off at the perforations every 12 inches rather than hunting for scissors. Bubbles face in. Since I switched to that after breaking a piece of Pyrex in late 2021, I have not had a dish break in transit.
Keep the station in one place and keep it stocked. The scale is an arm's length from the printer, the labels live in a bin under the table, and the tape gun is on its hook. When a stack of labels runs low I put the spare on the shelf, not in a drawer, because a spare in a drawer is a spare I will not find at nine at night. The printer's USB cable stays plugged in. The whole station takes about four feet of a folding table.
And that is really the point of all five steps. Eight to fifteen packages a week should be a half hour of work at a table in a spare bedroom, not an evening. The printer did not make me a better reseller. It removed the part of the job I was doing badly, which was writing addresses by hand and taping paper to boxes.
Four and a half years, thousands of labels, still no ink to buy
One USB cable, 4x6 labels, one label per second. If your shipping table currently has a pen and a roll of tape on it, this is the upgrade that ends that.
Amazon Check Today's Price on Amazon →