
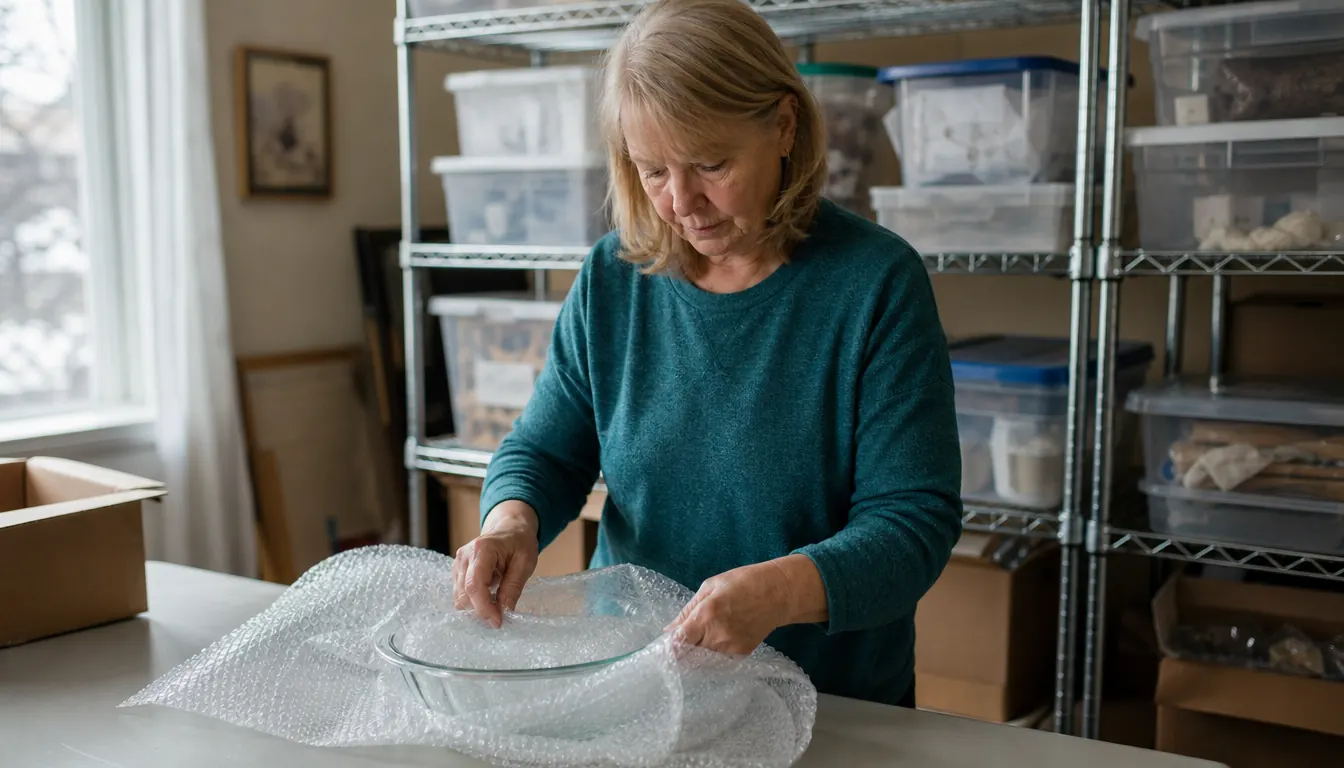
I spent 27 years behind a small-town post office counter, and I can tell you exactly what a badly packed box sounds like when you set it down. It rattles. Glassware is the usual reason. A seller puts one layer of newspaper around a pitcher, drops it into a box with three inches of empty space on every side, and by the time it reaches a sorting belt it is a bag of shards and a refund request. I handed more of those back across the counter than I could count.
I started reselling in spring 2021, about two years after I retired, and I made that mistake once. A vintage Pyrex bowl, packed the way I assumed was fine, arrived in pieces. What fixed it was not a better box. It was a specific order of operations, using Duck small-bubble cushioning wrap, the 12 inch by 175 foot roll, which I have bought since January 2022. That is nearly five years of glass leaving my spare bedroom, and since I started wrapping this way I have not had a dish break in transit.
Below is the whole method, in the order I actually do it at the folding table. Five steps. None of them take longer than the packing you are already doing. One of them, step four, is the one nearly everybody skips, and it is the one that decides whether the rest of the work was worth anything.
The roll I have reordered on the same schedule since January 2022
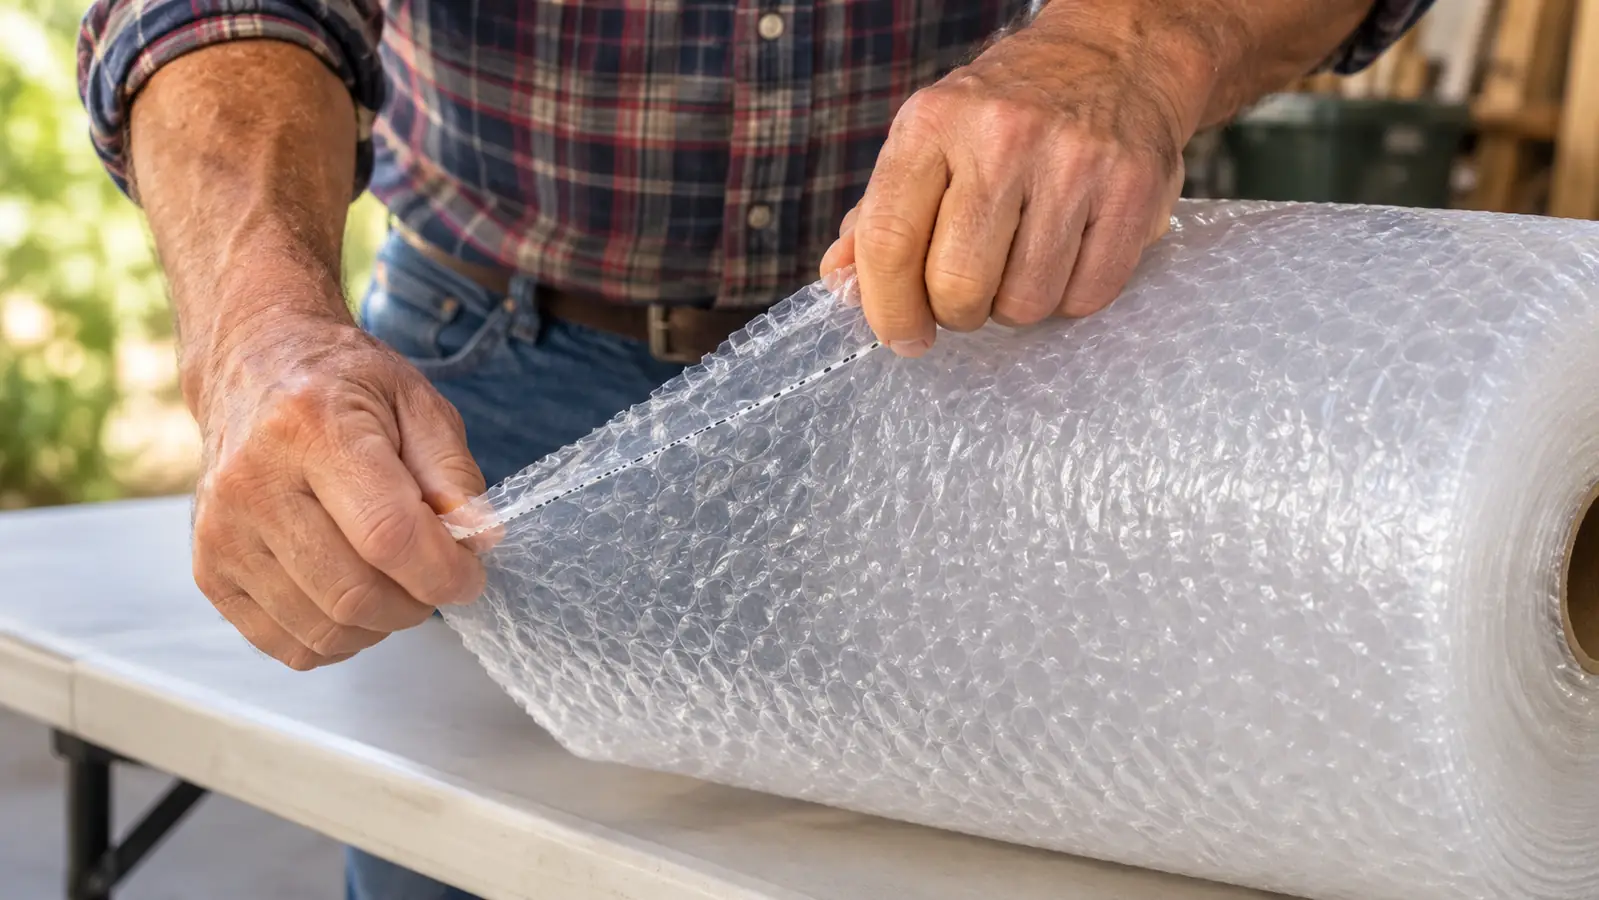
Small bubbles that conform to a rim or a handle instead of bridging over it, perforated every 12 inches so you can tear a sheet one-handed with glass already on the table.
Amazon Check Today's Price on Amazon →Step 1: Tear Your Sheets Before You Touch the Glass
The roll is perforated every 12 inches. That sounds like a small convenience and it is not. It means you pull a sheet off by hand, in one motion, without scissors, without a blade anywhere near the thing you are trying to protect, and without the ragged torn edge you get when you fight a roll across the grain.
I tear four or five sheets at a time and lay them flat on the folding table before I pick anything up. Two reasons. Once my hands are on a piece of glass I do not want to set it down again to wrestle with a roll. And an unwrapped item sitting alone on a table while I pull more material is an item that can get knocked. My shipping room is a spare bedroom with a wire shelving unit and a rolling cart, and that cart has a way of finding things.
Count your sheets for the piece in front of you. A saucer or a small bowl takes one sheet for the first layer. A pitcher with a handle takes three: one for the body, one for the handle, one for the second pass. The wrap is light, the whole roll is about a pound, so you are not adding weight to the box. You are adding volume, and volume is the thing that keeps glass from moving.
Step 2: Wrap Bubbles In, Corners First
Bubbles go against the glass. Not out. This is the most common mistake I see on boxes that come apart, and it is an understandable one, because wrapping bubbles-out feels like you are putting the soft side toward the box. You are. That is the problem. The bubble side is what conforms to the curve of a bowl or the foot of a glass and holds it. The flat side does very little against a hard edge. Duck prints the instruction on the roll itself: wrap items bubble side in for best protection.
Small bubbles are the reason this works on glassware. The big-bubble wrap sold for moving furniture has bubbles the size of a dime, and on a curved piece it bridges instead of conforming. A small bubble rolls over a rim and settles into the shoulder of a pitcher. It also leaves less air trapped between the wrap and the item, so there is less room for the piece to shift around inside its own padding.
Corners first. Lay the piece on a sheet at a diagonal so one corner of the wrap points at the middle of the base. Fold that corner up over the piece, then roll it. A handle gets its own small square, folded over it and taped to itself, before the main wrap goes on, so the handle is not the part taking the impact.
Step 3: A Second Layer at a Different Angle
One layer is for a mug going across town. Two layers is for anything moving through a sorting facility, which is everything you mail. After the first wrap, set the piece on a fresh sheet and wrap again at a different angle, so the seams of the second layer cross the seams of the first. That cross pattern is what keeps a seam from peeling open when the box takes a corner.
Tape the wrap to itself, never to the glass. Tape on glass becomes the buyer's problem, since they now have to lift adhesive off a piece of vintage Pyrex without scratching it, and it becomes yours, because that is the kind of thing that turns up in a review three weeks later. A two inch strip across the loose tail of the wrap is plenty. I use my tape gun for this, which I bought in 2023 mostly because squeezing a bare roll was hurting my right thumb.
If the piece is hollow, like a teacup, a small vase or a creamer, crumple one sheet and put it inside before you wrap. Hollow glass fails from the inside when a box gets compressed, and a wad of wrap in the cavity costs you nothing.
Step 4: Fill the Void, Then Shake It
This is the step people skip, and it decides whether any of the wrapping mattered. A piece wrapped beautifully inside a half-empty box is a piece that accelerates across that empty space every time the box is set down. The wrap does not fail. The box does.
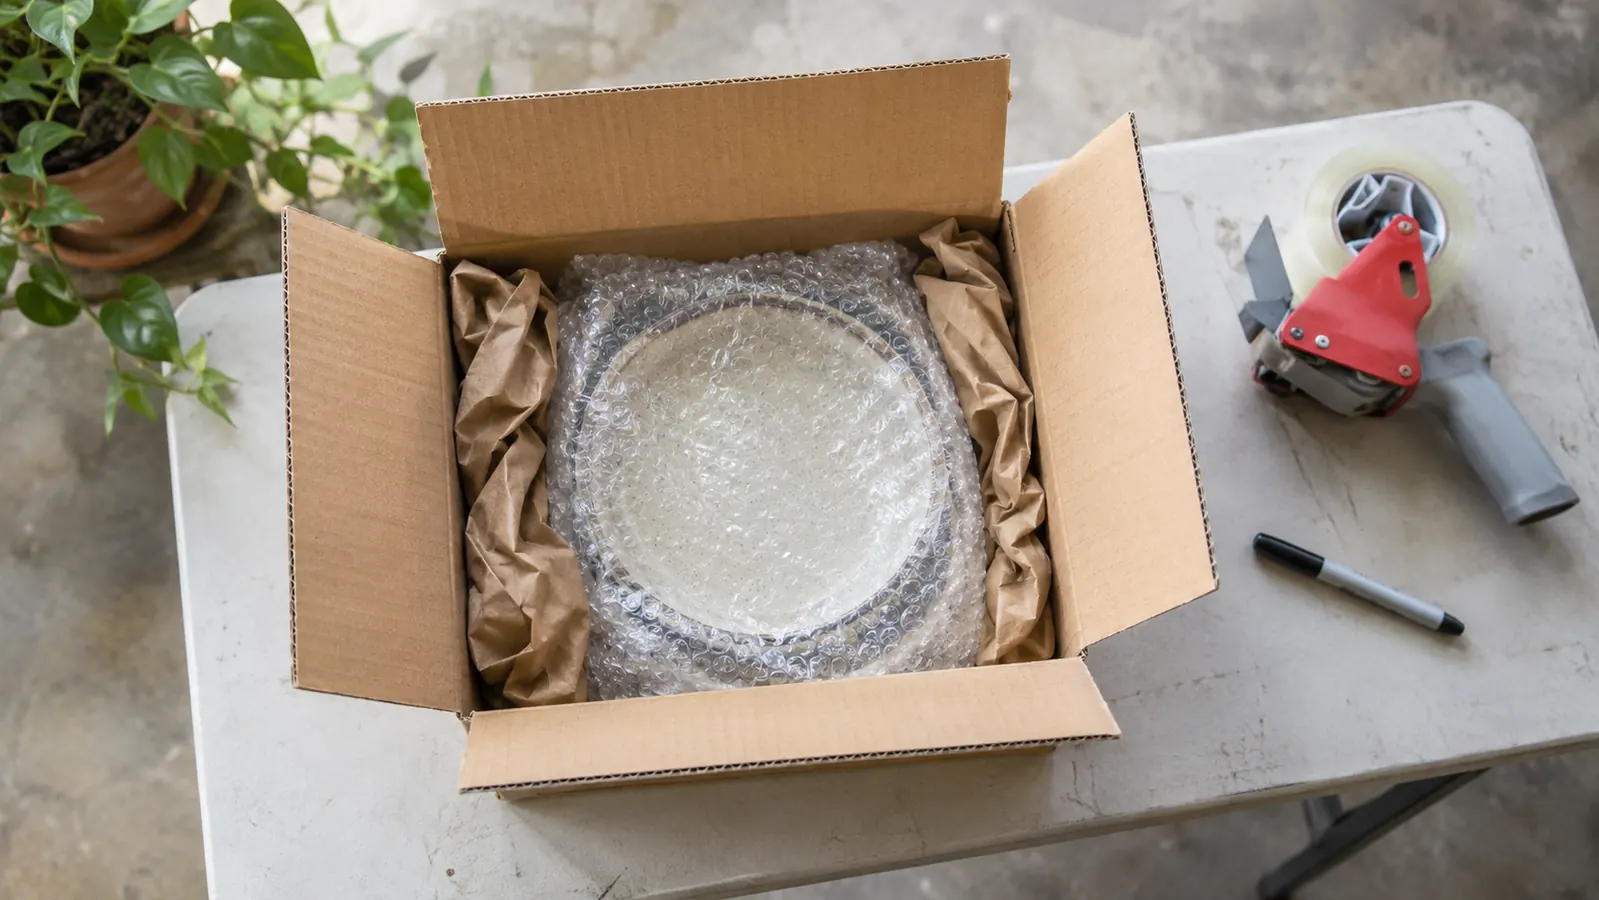
Fill every gap. Crumpled wrap, crumpled paper, air pillows, whatever is on the cart. Pack it firmly enough that you press the flaps down slightly to close the box, and not so firmly that the seams bulge. Then seal it and shake it next to your ear. If you hear the item move, open it and add fill. If you hear nothing, you are done. I do the shake test over the carpet in the shipping room, because dropping a test box from waist height onto a rug is a cheap way to learn something.
One rule on box choice saves more glass than any single wrapping technique. Leave at least two inches of fill on every side of the wrapped piece. If the box only fits the wrapped item snugly, the box is too small. A snug box transfers impact straight through to the item, no matter how many layers you put on it.
Step 5: Seal It, Weigh It, Label It
Three strips of tape. One down the center seam, one along the edge of each flap. Not a single strip down the middle, which is what I did for my first year and what a good half of the boxes at a post office counter look like. If the box is heavy, run tape around the middle as well.
Weigh it before you print anything. I learned this one expensively in 2021, when two packages came back postage due because I guessed at the weight. My counter scale has a 50 pound limit and reads to a tenth of an ounce, which is more precision than a glassware box needs, but the habit of weighing every single box is the part that matters. Guessing works right up until it does not.
Fragile stickers are for the buyer's peace of mind, not for the machinery. Nothing in the system reads them. Pack every box as though the label were invisible.
The Three Mistakes I Still See
Bubbles out is the first one. The second is wrapping an item and then setting it into a box with no fill around it, which amounts to not wrapping it at all. The wrap needs something to push against or it just rides along with the glass.
The third is trusting newspaper against glass. Newspaper compacts under weight. A box that starts with two inches of newsprint around a bowl ends the trip with half an inch, and half an inch is not enough. Use paper between already-wrapped pieces or to fill a void. Do not use it as the only layer against a rim.
I will add a fourth because it causes the most complaints. Do not pack glass and clothing in the same box without separating them. A wrapped bowl and a wool sweater in one box means the sweater is pressed against a hard object for the whole trip, and the buyer opens a box of lint and a bowl. Bag the textile, then build a wall of fill between the two.
Nearly five years, thousands of labels, and not one dish broken in transit since the day I started wrapping bubbles in and filling the void.
What Else Helps
Double-boxing. For anything over about a foot tall, or anything with a thin stem, put the wrapped piece in a smaller box, fill that box, then set the smaller box inside a larger one with fill between the walls. Two boxes with fill between them will survive a fall that one box will not.
Bubble wrap against the glass, paper between wrapped pieces. That order matters. The Duck wrap does the conforming. The paper does the separating. Swap them and you get a box where nothing cushions anything.
Glass never goes into a poly mailer. Not padded, not doubled, not once. A mailer has no structure, so every impact goes straight into the item. The mailers on my shelf are for sweaters, blouses and jeans, and that is the only thing they are for.
Keep the roll on the cart, not on the table. The one time I left a roll on the table beside a pitcher I was photographing, I knocked the pitcher over reaching for the tape gun. Nothing broke. I moved the roll and it has lived on the cart ever since.
Who This Method Is Not For
If you are mailing one mug a year to a relative, none of this is worth building a shelf of supplies around. A shoebox, a roll of wrap and twenty minutes will do, and you can tear sheets by hand from any roll without thinking about the perforation.
If you are shipping flat glass, picture frames, mirrors, that kind of thing, this method is half the job. Flat glass needs rigid protection on both faces, usually foam board or doubled cardboard, with bubble wrap as the cushion over the top. Wrap alone will not stop a frame from flexing, and a flexed frame cracks a corner every time.
One roll, one method, and glass that arrives in one piece
Duck small-bubble cushioning wrap, 12 inches by 175 feet, perforated every 12 inches so you can work one-handed with a pitcher already in your other hand. This is the roll that has stayed on my cart since January 2022.
Amazon Check Today's Price on Amazon →